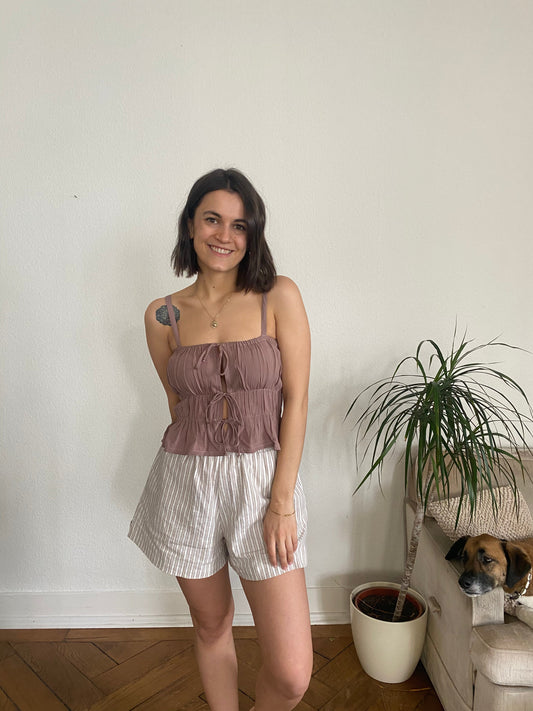
after reading this beginners guide, you can easily sew your first garment

Let's get started! Here you will learn everything you need for your first self-sewn garment :)
What is the grainline?
The grainline is one of the most important terms in sewing. It refers to the direction in which the threads of your fabric run. There are 3 different thread courses.
- Longitudinal thread course: runs parallel to the selvedge (the edge of the fabric)
- Cross grain: runs at a 90° angle to the selvedge
- Diagonal thread course: runs at a 45° angle to the selvedge
If you are using a pattern, the thread path is usually indicated by an arrow on the pattern pieces. This arrow must always run parallel to the longitudinal thread, i.e. along the selvedge.

This is important because the fabric falls differently depending on the direction in which it is cut. The grain ensures that your finished garment fits well and does not warp. The cross grain is only used for special patterns and the bias grain is used for very elastic pattern pieces (e.g. thin ribbons)

Place the pattern pieces in the grain line:
- Lay the fabric double: Most patterns are designed for double-faced fabric, which means you lay the fabric together so that the selvedges are on top of each other. The right side of the fabric (the “pretty” side) should be on the inside
- Position the pattern pieces: Place the pattern pieces on the fabric so that the grain line arrow runs parallel to the selvedge. You can use a tape measure to ensure that the distance from the dart to the selvedge is the same at both ends
- Fasten the pattern: weigh the pattern pieces down with a heavy object and draw around the pattern pieces with a pencil, lay the pattern pieces to one side and insert several pins into the two layers of fabric so that nothing slips
Cutting to size: What you need and how to do it
Now you can start cutting. You will need a few important tools to make sure everything goes smoothly:
- Fabric scissors: These scissors should only be used for fabric. They stay sharp and cut cleanly through the fabric.
- Paper scissors: Normal scissors that you use for cutting the pattern.
- Pins: To pin the pattern to the fabric.
- Optional: small thread scissors: Ideal for cutting threads when you have finished sewing.

Proceed as follows to cut out the pattern:
- Cut out the pattern: Use the paper scissors to cut out the pattern along the lines of your size.
- Place the pattern on the fabric: Position the pattern pieces in the grain line and pin them in place.
- Cut the fabric: Use the fabric scissors to cut the fabric exactly along the edges of the pattern. Make sure to keep the scissors as flat as possible to achieve clean edges
Right and left side of the fabric: what is it?
Most fabrics have a right side (the “pretty” side that is later visible on the outside) and a wrong side (the back of the fabric). With some fabrics the difference is clearly visible, with others you have to take a closer look.
To find out which side is the right side, look for the following characteristics:
- The right side often has a more intense color.
- Patterns and motifs are clearer and sharper on the right-hand side.
- The fabric often feels smoother on the right side.
When you lay the pattern on the fabric, the right side is usually on the inside so that you can cut and sew on the wrong side.
Hemming: overlock or zigzag stitch?
There are various methods for finishing the edges of your sewing project:
- Overlock: An overlock sewing machine cuts the fabric and finishes the edges at the same time with an elastic stitch. The result is professional and neat and is particularly suitable for stretchy fabrics
- Zigzag stitch: If you don't have an overlock machine, you can use the zigzag stitch on your sewing machine. It prevents the fabric from fraying and is a good alternative for beginners
if you don't have a sewing machine yet, you can take a look at my recommendations here -->
but my best tip is to just get started. in my videos you can see exactly how everything is sewn
And that's all there is to it! Have fun sewing.


